For my final lyre, I wanted to use ancient materials, such as gut strings, and a tortoise shell. Ultimately, I could not get a tortoise shell as they are increasingly hard to find (sad for lyre makers, presumably happy for tortoises). I settled on a snapping turtle shell, because Snapping Turtles are not endangered, they are fairly attainable and accessible, and they grow large enough to make an adequate lyre1 I was instructed that the proper length and width of a shell was around 10 inches long by 8 inches wide at the advice of musicologist Christian Girbal, who advised me on proper building techniques and materials, I am quite thankful to him for answering my emails. For further information on his work, his website Arkeomusica.com is a great resource and example of actual professional recreations of ancient greek musical instruments. I purchased my shell from Skulls Unlimited, an osteological website dedicated to ethical practices. It cost roughly $55. My next challenge was the strings, finding gut strings for such a large instrument can be a challenge. I ended up contacting Gamut Music, a company dedicated to re-creating historical instruments. They helped me come up with my desired string selection (as suggested by Stephen Hagel) and gave me 7 excellent strings. That cost around $233. Cheaper alternatives would have been viola gut strings, which Helen Roberts used in her 1981 recreation2 Helen Roberts, “Re-constructing the Greek Tortoise Shell Lyre,” World Archeology (1981) p. 311. For the arms, I purchased a plank of Douglas fir Pine for $36, though other cheaper wood can be used. Roberts used Sycamore in her re-creation, my wood was selected because it was in the hardware store when I was shopping with my dad. It overall does not matter, as long as the wood is strong enough to support the crossbar and string tension the wood type does not matter.
With all of my materials purchased, I began crafting my lyre. Making the arms was an ordeal3I also later learned that Pine is incredibly hard to carve, which definitely lead to added difficulty, this whole project is somewhat an experiment in learning less than pleasant lessons – my lyre is heavily based off of Helen Roberts’ 1981 re-creation of a lyre.4 While Roberts made several re-creations of ancient greek instruments, her article describing how she did it describes the process of her building a lyra, though in different articles she showcases other examples of her work, such as her re-creation of the barbitos, and the kithara. For her article in the re-creation of the lyra please consult: “Re-constructing the Tortoise Shell Lyre,” World Archeology, Vol. 12, No.3, 1981. For a look at some of her other re-creations, please consult: Helen Roberts’ “The Technique of Playing Ancient Greek Instruments of the Lyre Type,” in The British Museum Yearbook 4: Music and Civilization ed. T.C. Mitchell, p.43-76 (London: British Museum Publications, 1980) . To make her lyre arms, Roberts used a flat thick plank of wood, and cut out an outline of an arm, then carved it to give her arms round edges.5Roberts did this in lieu of using a lathe to bend wood (Helen Roberts “Reconstructing the Turtle Shell Lyre,” World Archeology, 1981, p. 305). I did the same thing, but with much less skill. I started by laying out my turtle shell, and making stencils out of newspaper for the arms. I then traced those onto my plank of wood, and my father taught me to use a jigsaw saw to cut them out, and shape them. If anyone attempting to recreate this process wishes to do so in the future, I am not an authority on handling saws and would recommend further instruction6 one piece of advice: ALWAYS turn off the saw before adjusting the blade, my father made me do that and it’s the reason I still have hands.
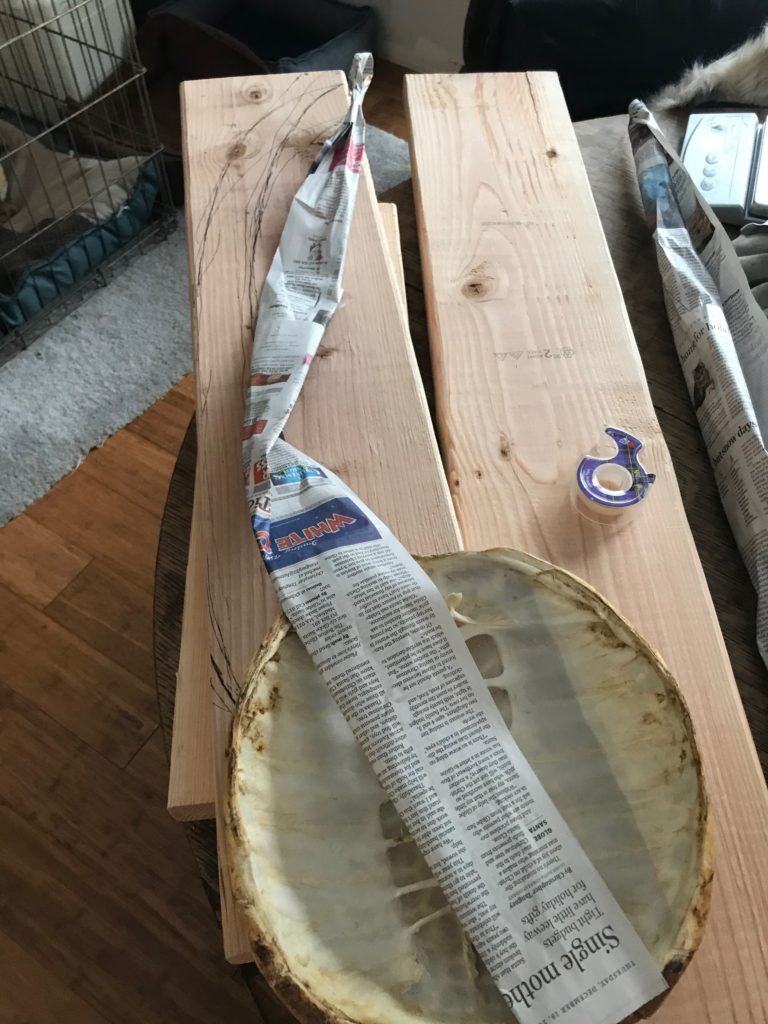
Stencils and wood to be carved and assembled with turtle shell 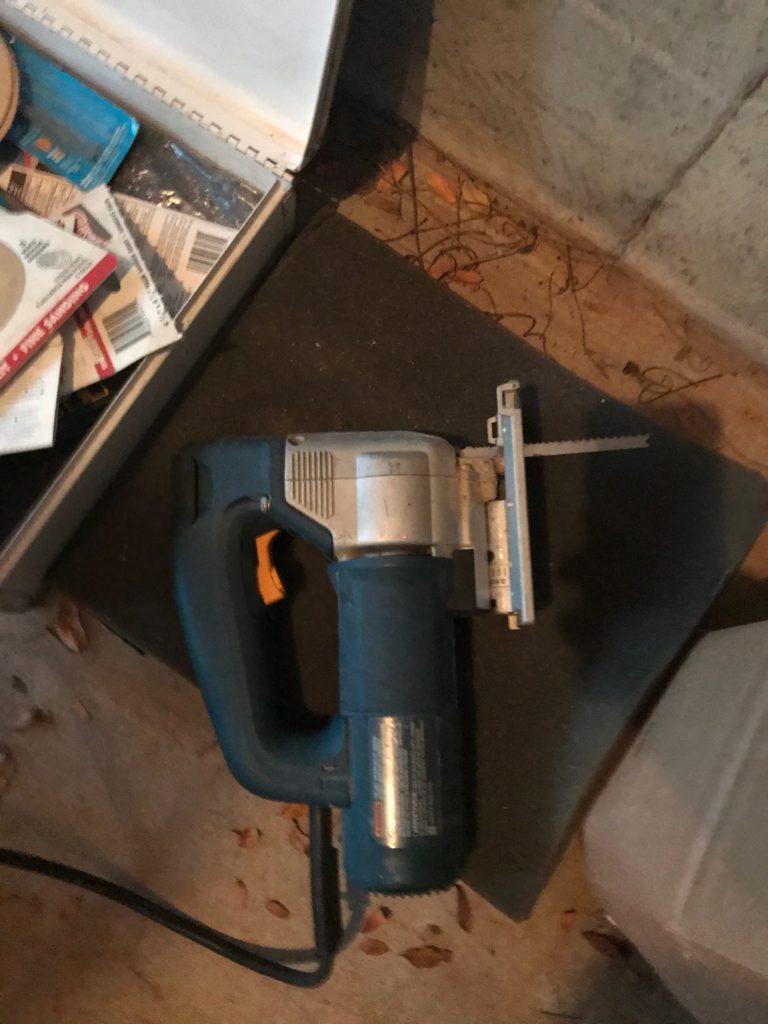
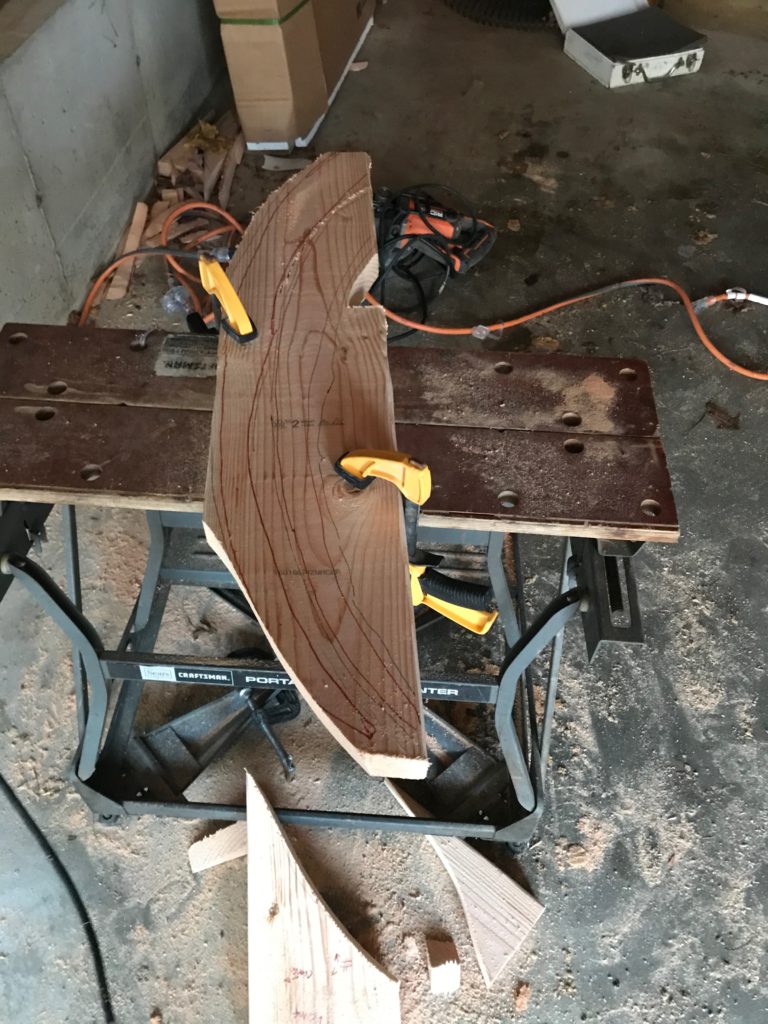
Jigsaw saw I used to carve my lyre arms 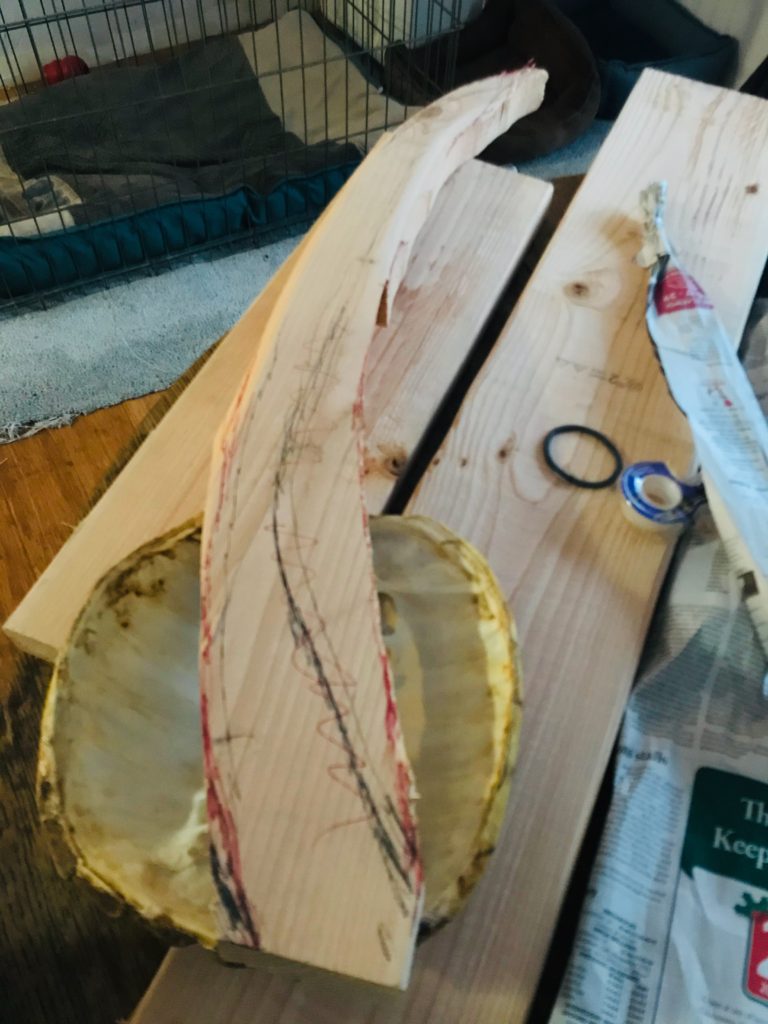
Lyre arm in progress 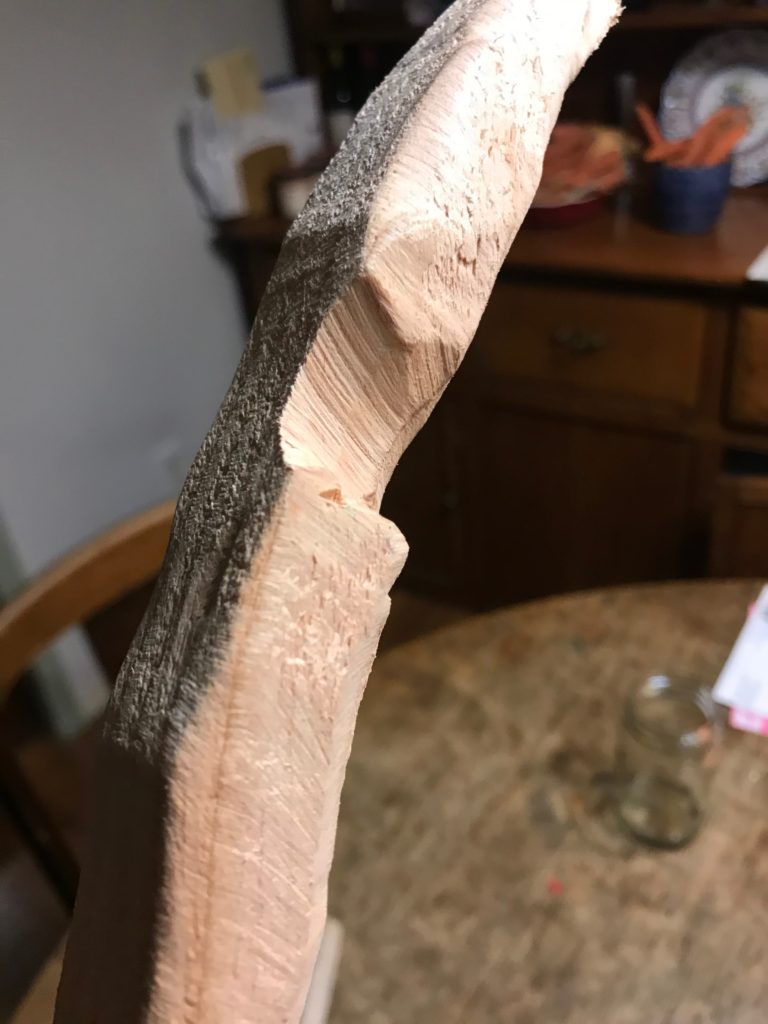
I used a sander to place notches like this one into the lyre arms to better hold the crossbar
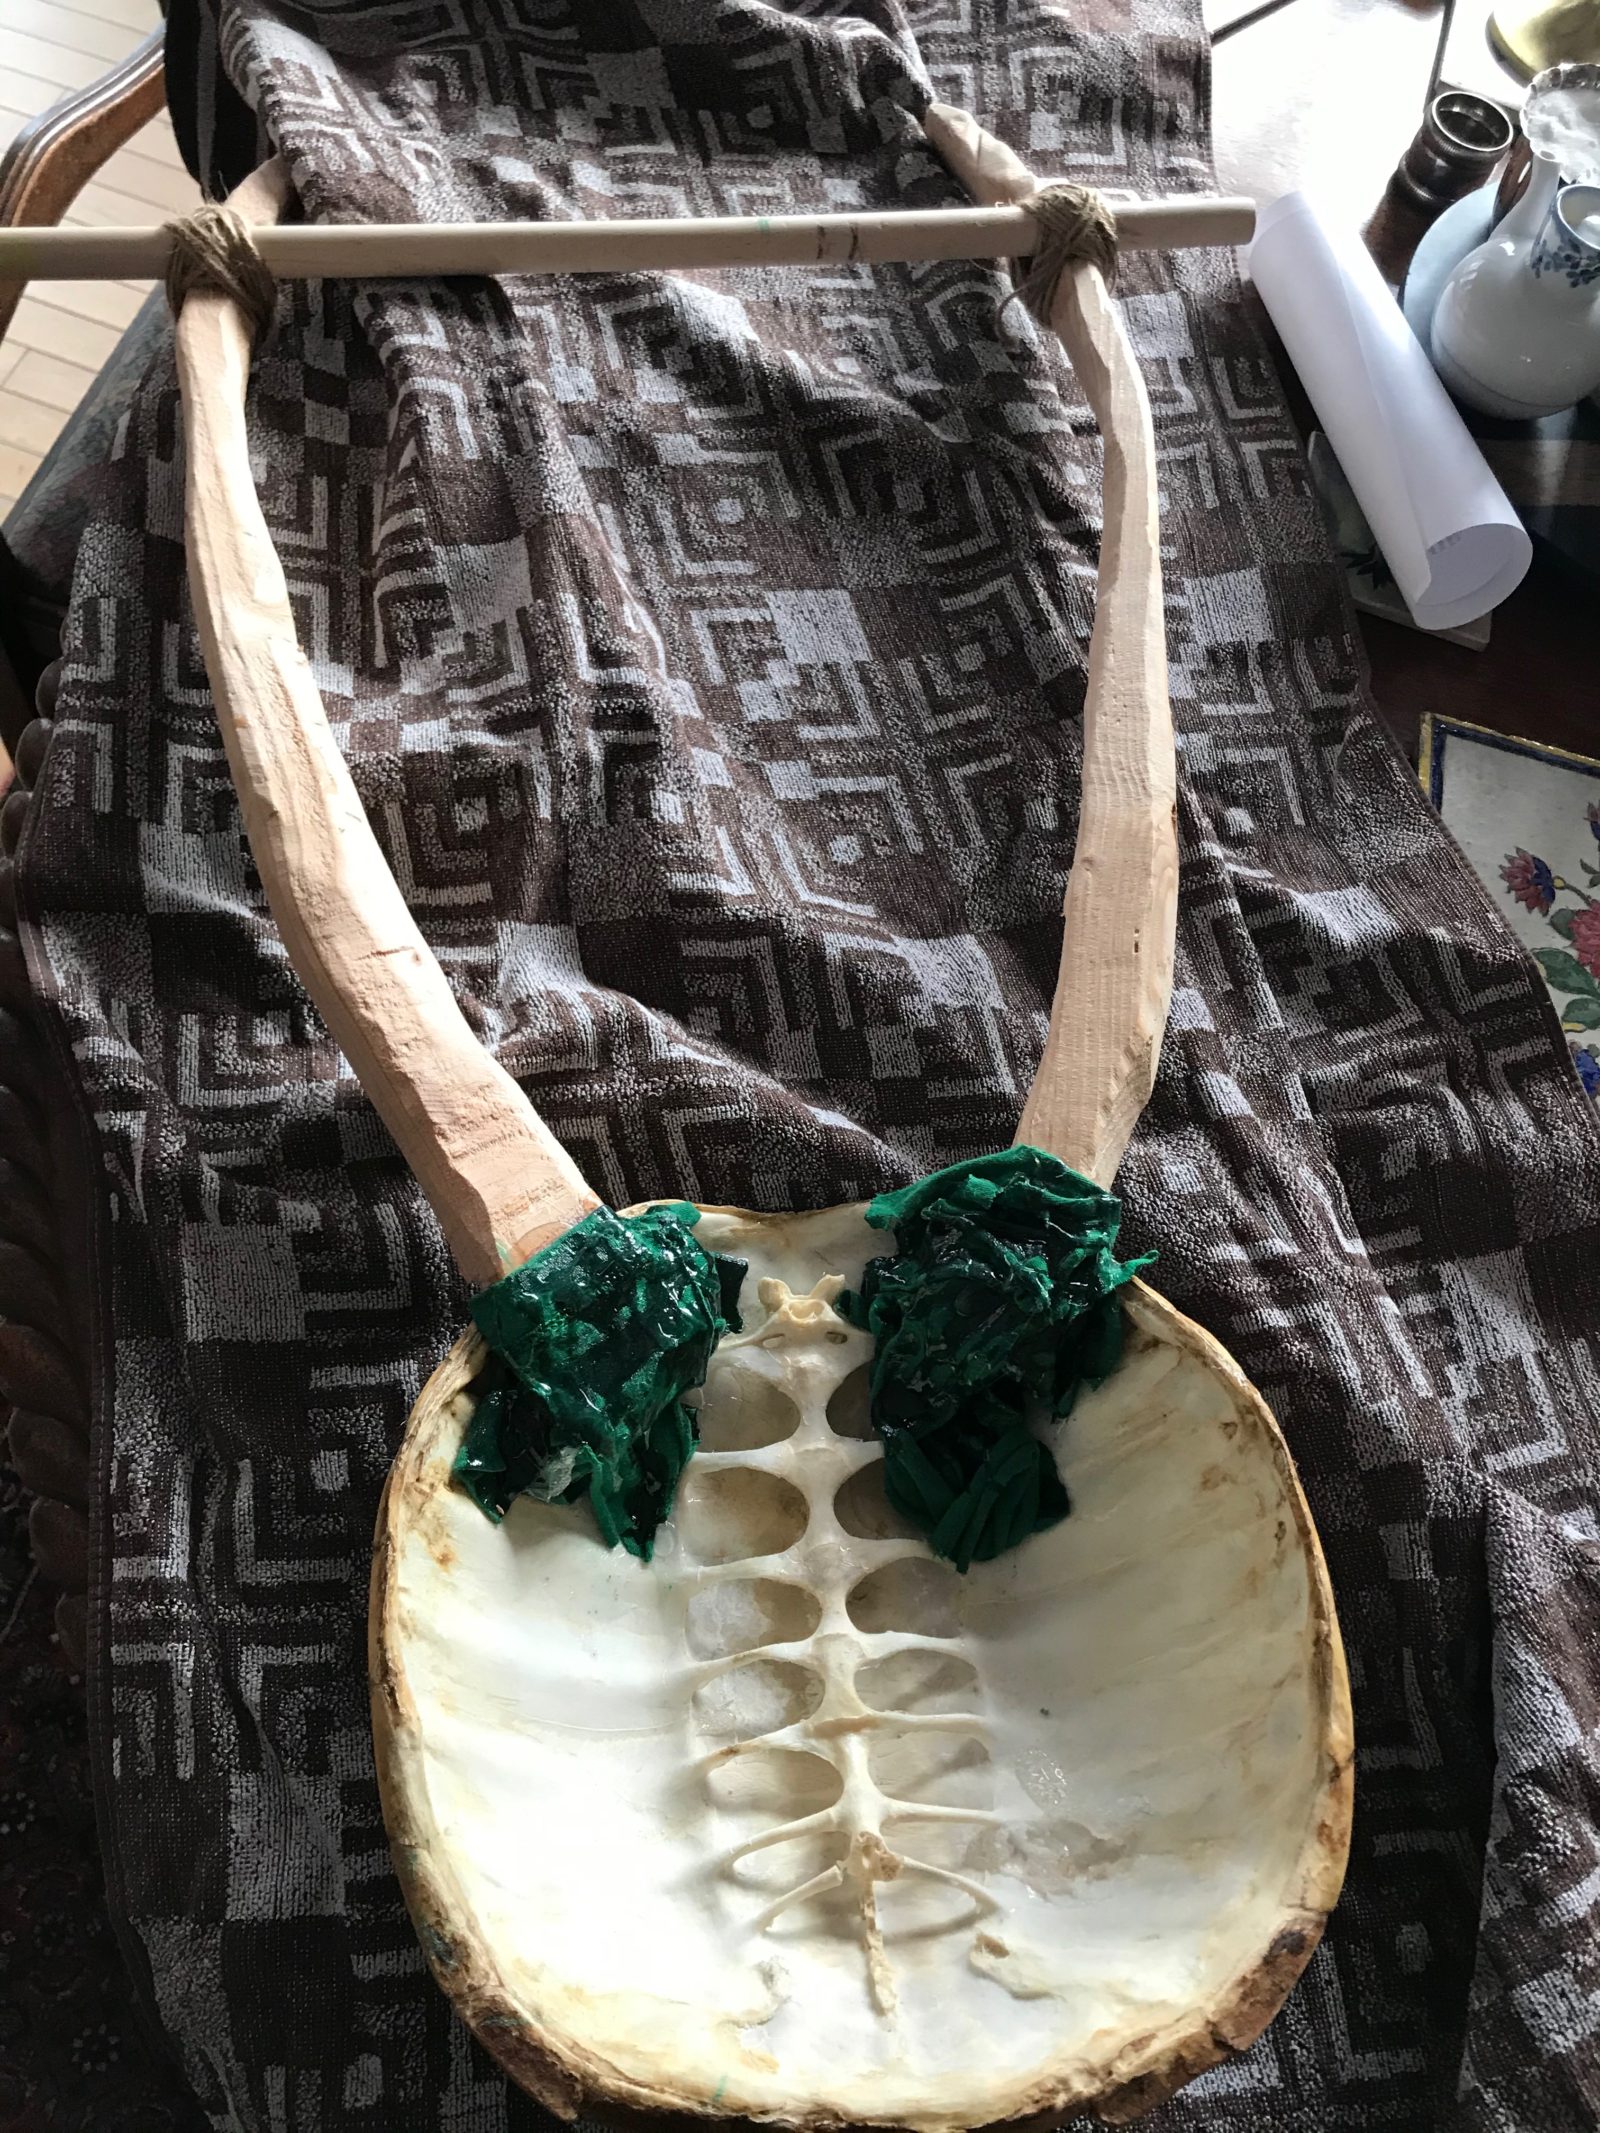
I began by cutting out a rough arm shape, and repeating the process with the other arm. That done I needed to make the arms rounder, using a combination of sawing and a sander to continue to smooth out the edges. I sawed at an angle and whittled down the wood to try and give it a less square form. It took a while! I had to keep cutting and re-measuring, and I made sure to periodically stop and compare both arms to each other, and hold them to the shell to make sure it all fit together. This time as I was just working off my own stencil, the arms have the appropriate amount of bend as I cut them at a curve. I put a groove into the arms where they hit the lip of the shell to make them flusher with the shell itself. Then my father and I began figuring out how to attach them to the shell. My original plan was to lay both arm ends into the interior of the shell to get a lot of structural support

But as my mother, Karen Sax McLoughlin (Project Consultant and Super Cool Mom) pointed out this would leave little room for the shell to act like a drum. The body of the barbitos forms a drum with the shell and goat skin – the sound resonates from the space between the two. By having the inner space taken up mostly by wooden arms, there would have been very little room for that to happen, and the sound would have been affected. One issue with the snapping turtle shell already was that being a snapping turtle it is fairly hydrodynamic – its shell is streamline. This is opposed to the boxy shell of a tortoise that lives on land. While this is presumably advantageous to the turtle, it means that I am already concerned it’s too shallow to make a good enough sound. The extra wood inside wouldn’t have helped. So, I came up with a new plan – I cut off the wooden ends of the arms except for a small inch long shaved down extension, just past where the arms met the rim of the shell. Then using rubber cement, I glued the wooden arms to the rim of the shell. I then took an old t-shirt, cut it into long strips, and soaking it in the rubber cement wrapped both arm ends in it – continually sticking the fabric to the wood and the shell. In this way I hope to provide a sort of scaffolding for the rubber cement, which will harden the shirt around the wood and shell, but also soaking into the fabric of the shirt will stick to the wood and shell better.
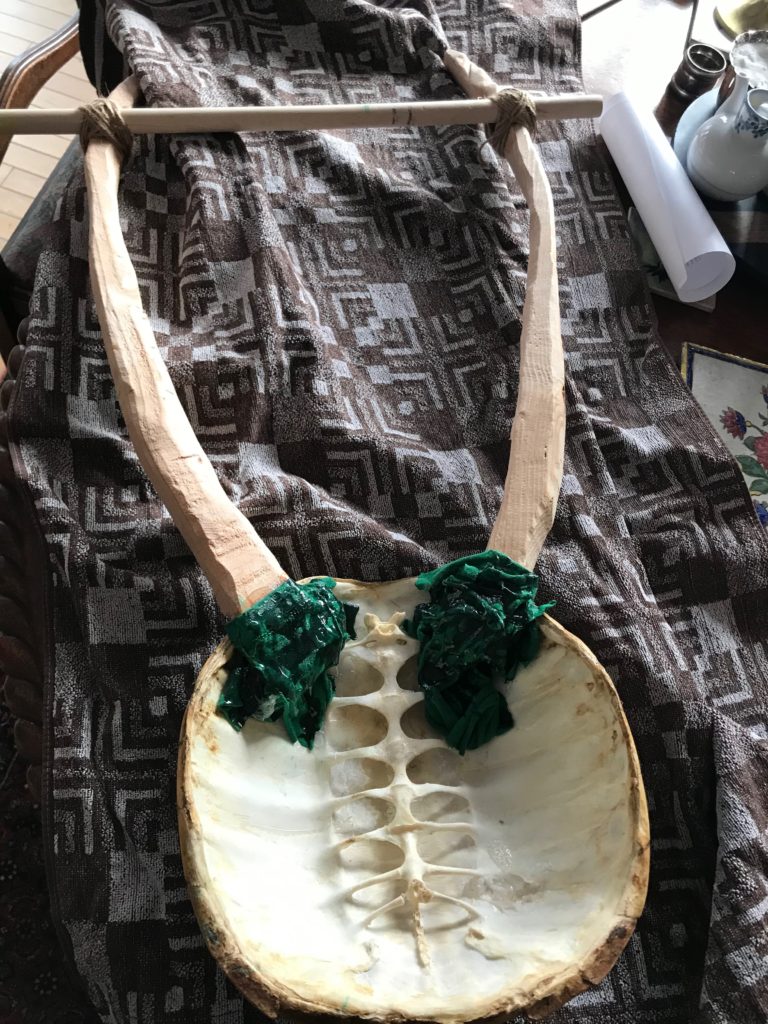
I have no idea if this will work, and it will most likely take around 3 days to dry, but I am excited to try it out! If this does not work, I will have to pry it off my shell and arms and go back to the drawing board.
https://waterfallmagazine.com
An intriguing discussion is definitely worth comment.
I do think that you need to publish more on this subject, it might not be a taboo subject
but generally people do not speak about such topics. To the next!
Many thanks!!