The rubber cement did harden the fabric I attached to the shell, and firmly attached the arms to the base. However, the arms were still wobbly. Because of this, my dad recommended I use small brass screws to more firmly attach the arms to the shell. I was worried about the shell cracking, but with my dad’s help (and power tools) it worked really well. 1 brass is an ancient material, and the ancient Greeks did have screws and nail, though there is no evidence they were ever used in lyres, so while this isn’t really an ancient practice I can sort of still claim to be sticking to my goal of using ancient materials
My next step was to attach the goat skin, I boiled it outside on the grill because of the smell, but because it was winter I had to construct a sort of tent with tinfoil around the grill to get it warm enough to boil the water properly. The smell of boiled goat skin is horrendous, which is admittedly another challenge in making lyres. This time when attaching the goat skin, I used better materials. I purchased thick needles designed for sewing upholstery, instead of normal sewing needles. I also got thick string, the kind used in friendship bracelets.
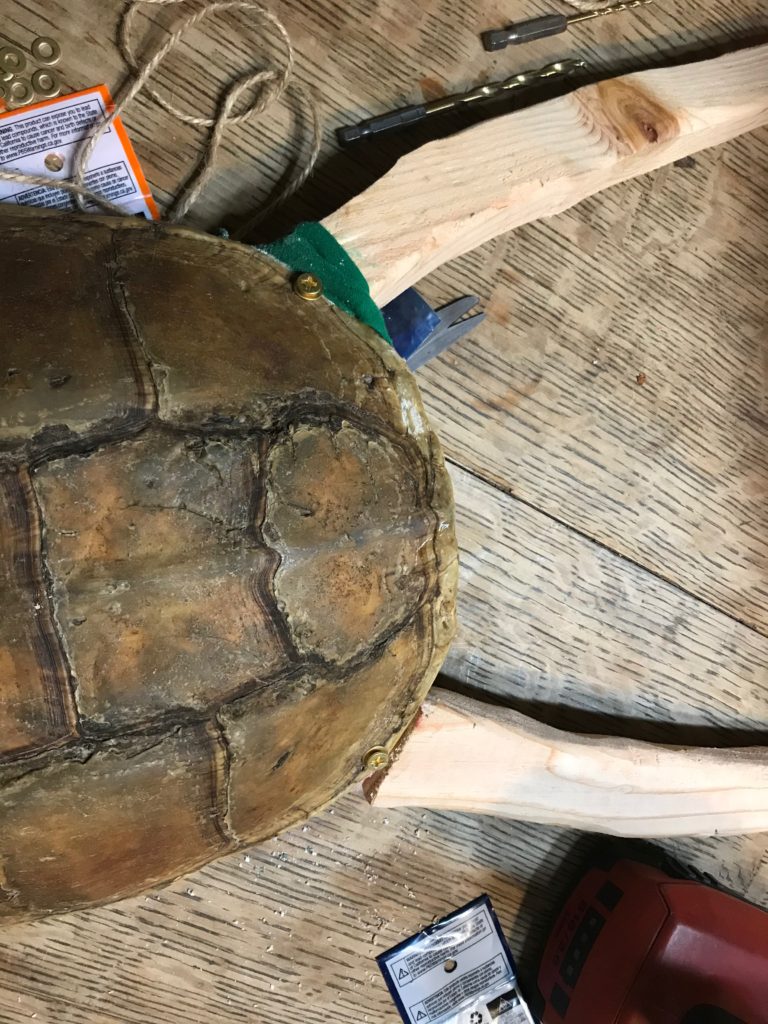
Final lyre frame from the back, with bronze screws holding the arms in place 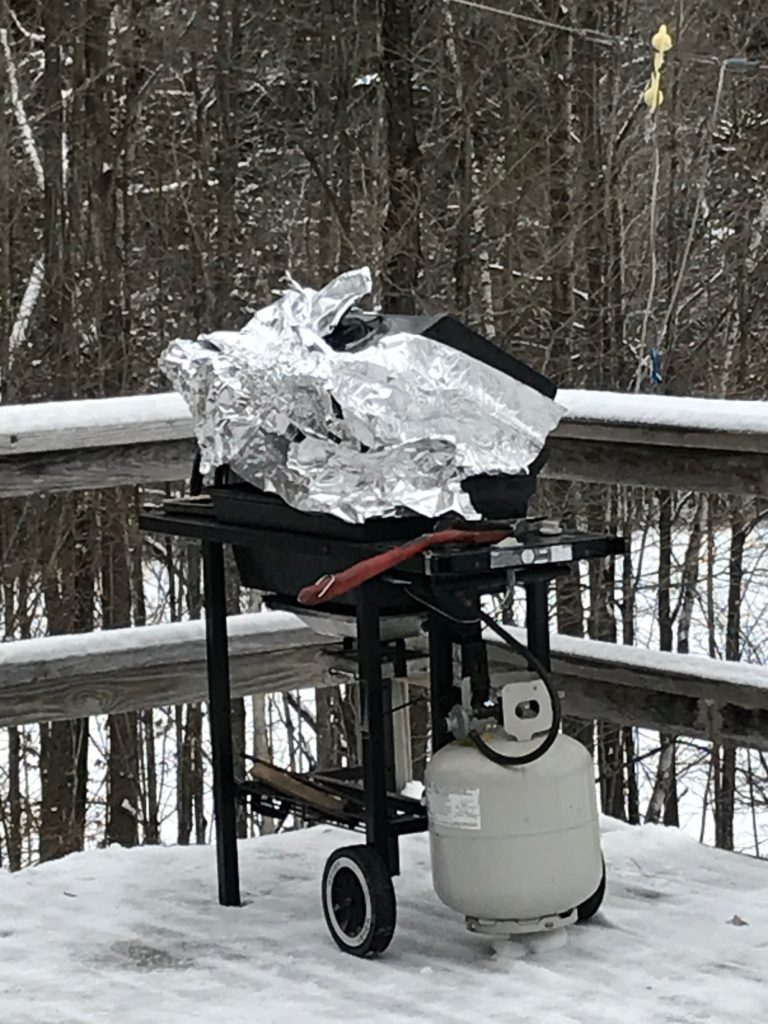
Here’s my goat skin boiling outside on the grill 
Thread, thick needles, and super glue to attach goat skin to final lyre frame
My goal with this lyre was to use mostly ‘ancient materials’, but ultimately I wanted a final lyre, so at times I sacrificed this (like with the brass screws). While trying to get the skin to attach to the shell, I used a small amount of hot glue, but it would not adhere; and the super glue I was also using took too long to dry. This meant I was able to attach the skin initially with only string, which I had been attempting to do for some time. I ran into issues because the turtle shell was much flatter and less boxy than tortoise shells and bowls are. What I ended up doing was just sewing the skin again and again over the back of the shell horizontally to get the skin taut.
After it was dried, the skin was pretty firmly attached but to ‘clean up’ the back of the shell and I cut the threads after it was dry. After the skin was dried it was pretty deeply molded so I was not worried it would fall off the shell, but just in case I used more fabric and super glue to create a ‘seal’ around the lip of the skin, the threads, and the shell. This way, even if the skin wasn’t molded firmly to the shell the threads would be secure to the back of it, and it would stay on. After this was dry I cut off the remaining thread, confident the skin would stay on. Here’s a video explaining the whole process:
Now all I have left to do is the strings! Before that though, I realized after attached the skin while reviewing some source materials that I had skipped some steps in lyre building thus far. Lyres in the ancient world had an interior support structure between the arms to keep them from buckling.2 Helen Roberts, “Reconstructing the Tortoise Shell Lyre,”World Archeology, (Vol.12, No.3, 1981):305 Before with my prototypes I had always skipped this step because I cut my bowls to slot around the arm, and thus the structure of the bowl supported and secured the lyre arms. This is impossible to do with a turtle shell, but I forgot it as a necessary design element. Overall, I am not too worried as this is just another example of the learning curve with this project. Hopefully, the screws I previously attached will hopefully solve this issue, by providing extra stability in the future.