
After assembling my frame for my second prototype, all I had left to do was attach the goat skin and strings. I attached the goat string by using the same method as before; I boiled it, and attached it to the bowl by using a mix of hot glue and sewing it on with a needle and thread.

Unboiled goat skin still in packaging 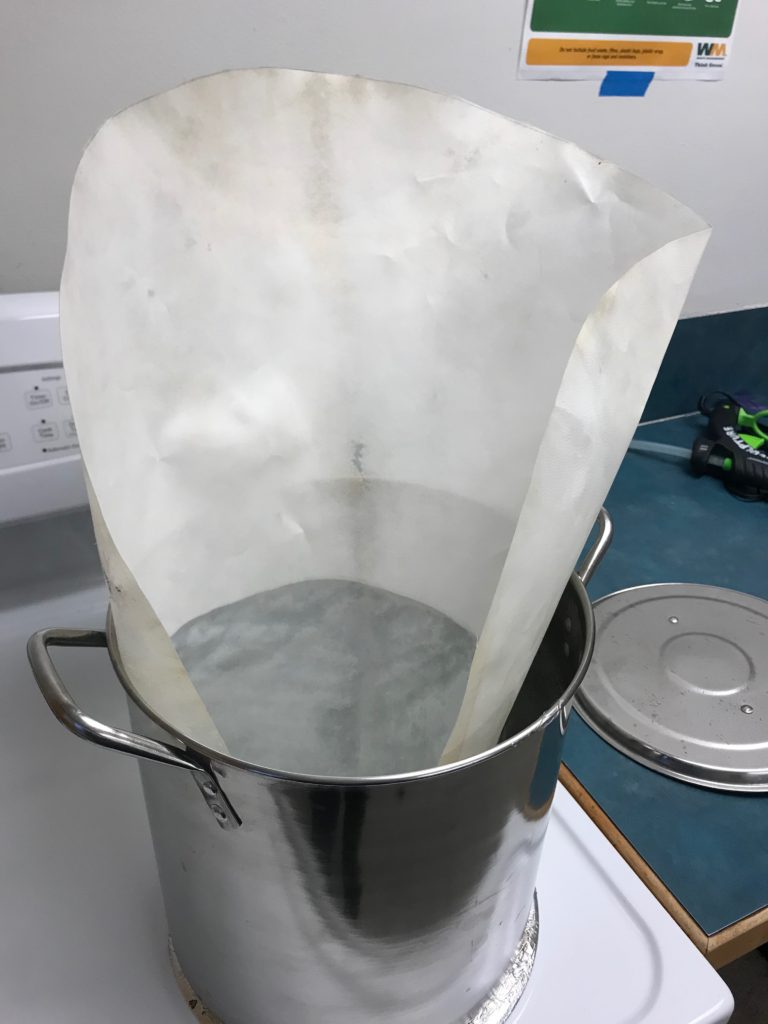
Soaking Goat skin in water, beginning boiling process 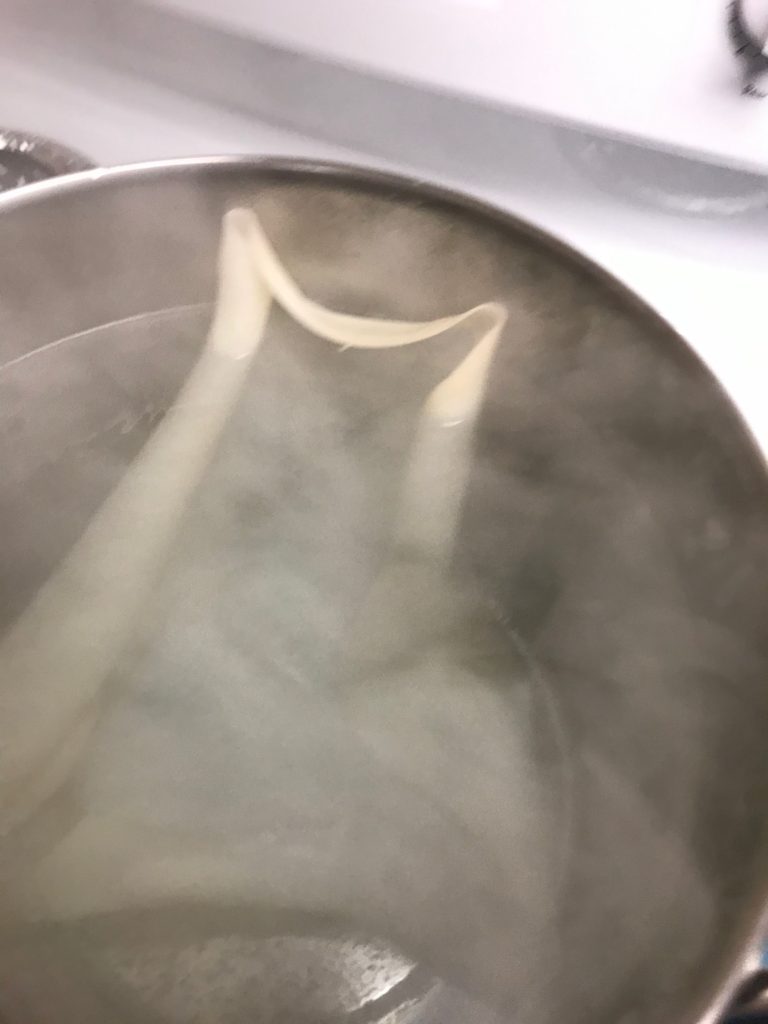
Goat skin boiling in water 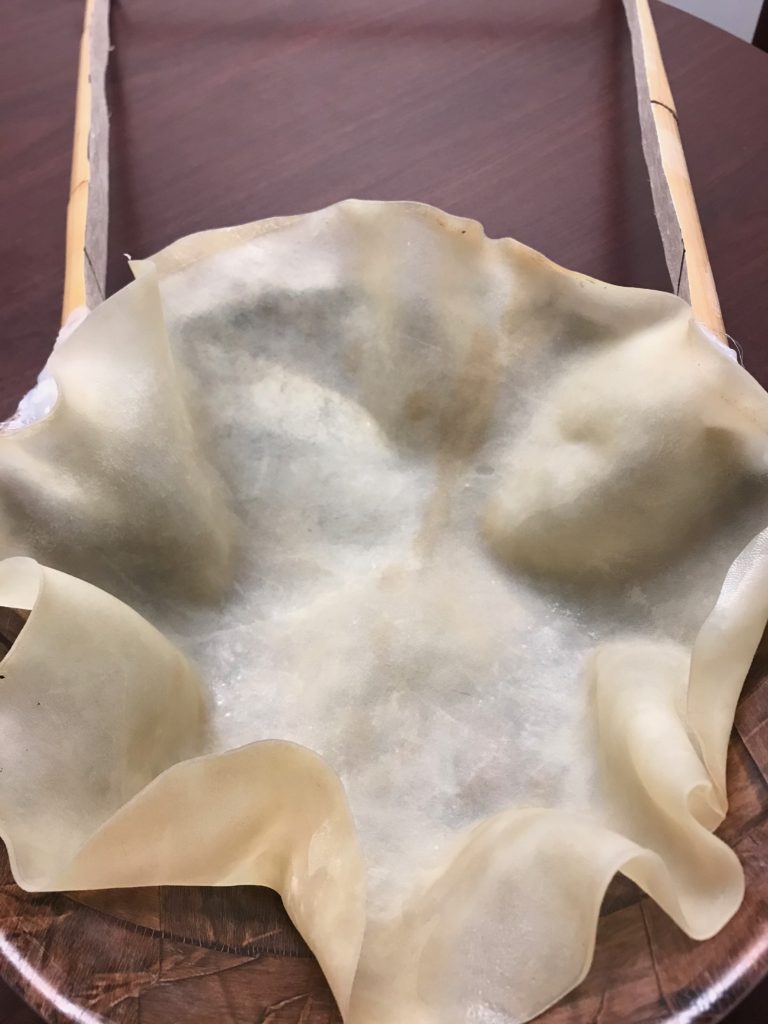
Beginning to attach boiled goat skin to frame 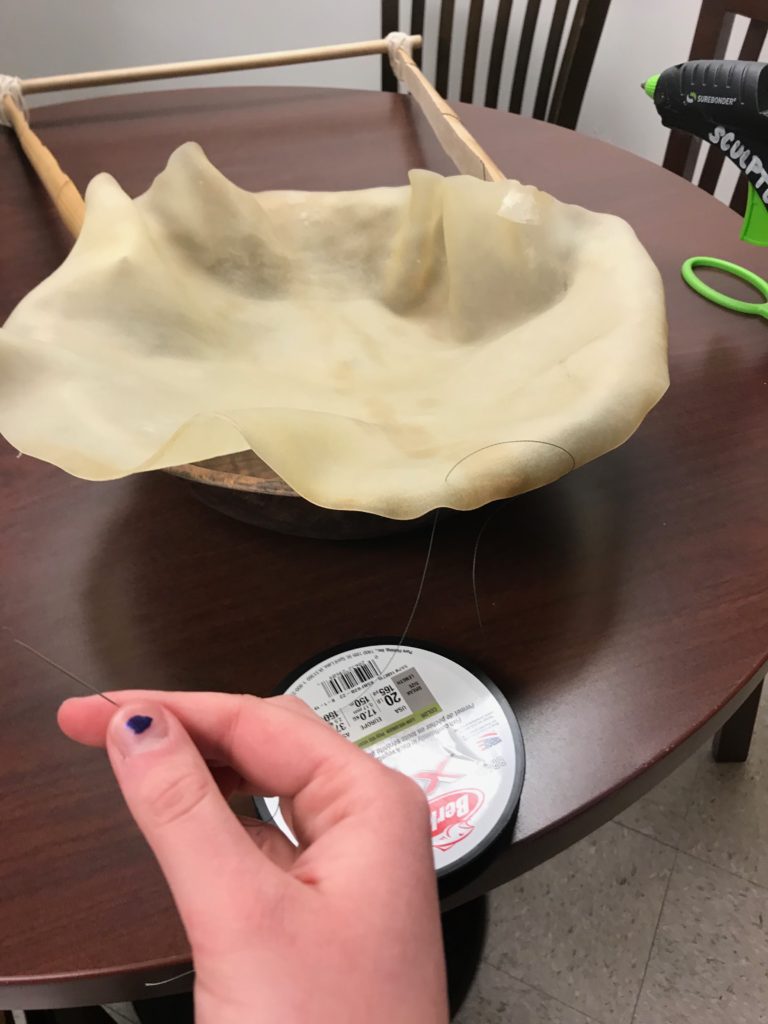
Sewing goat skin onto lyre frame 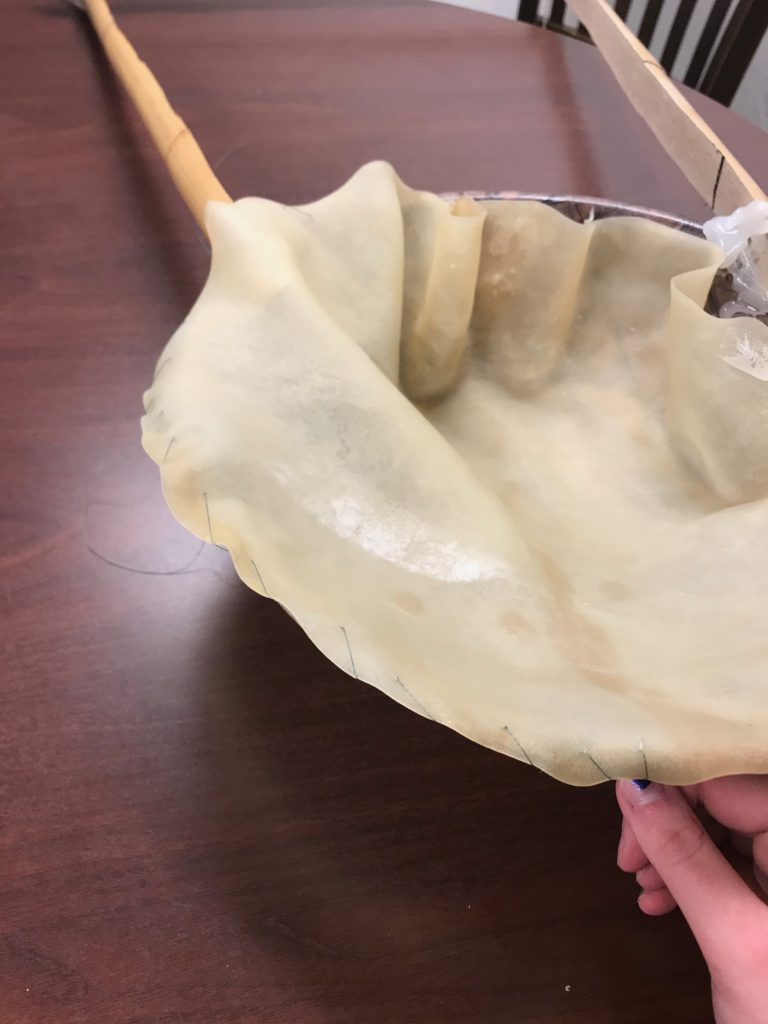
Sewing goat skin onto lyre frame 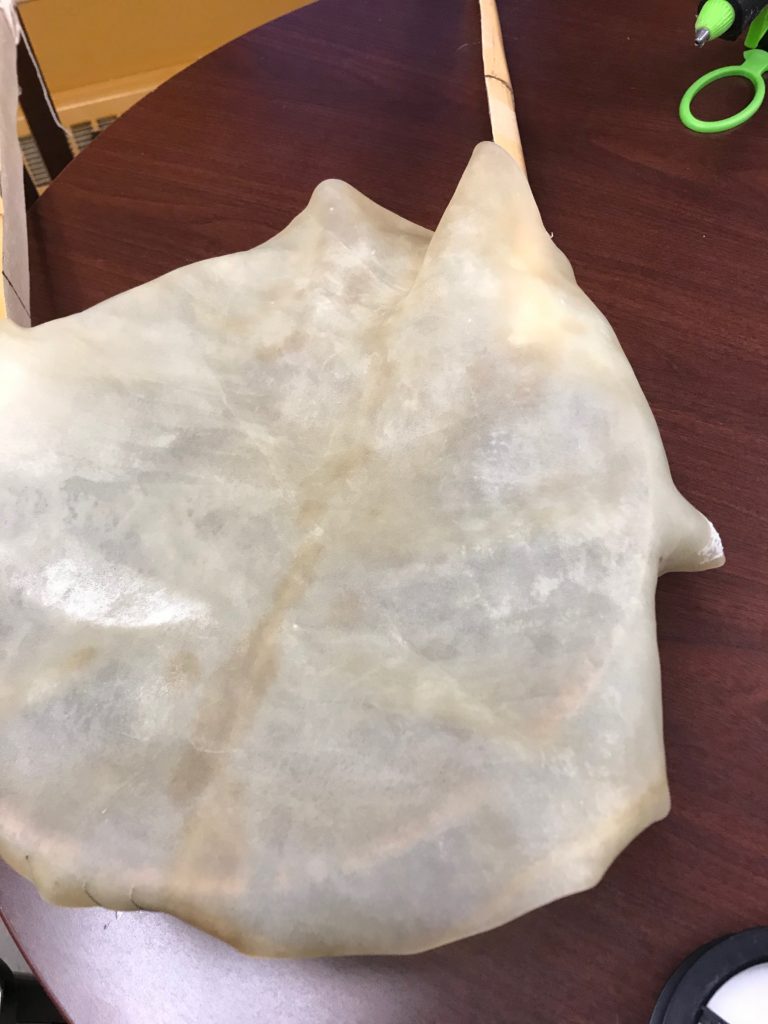
Goat skin almost completely attached to lyre frame 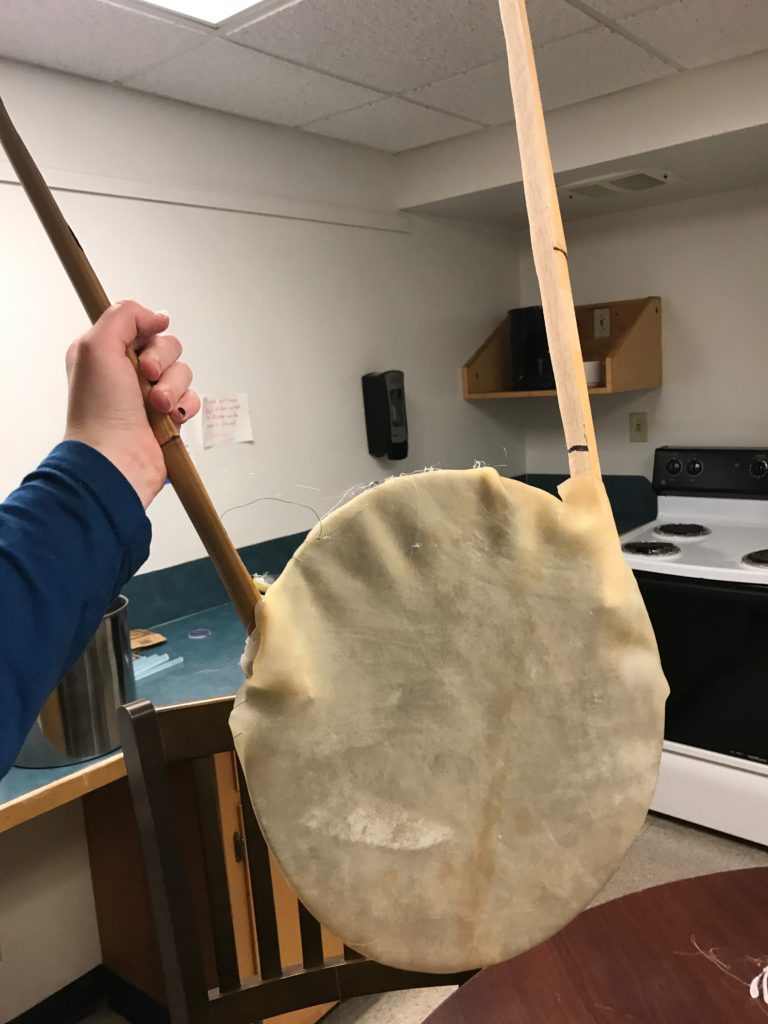
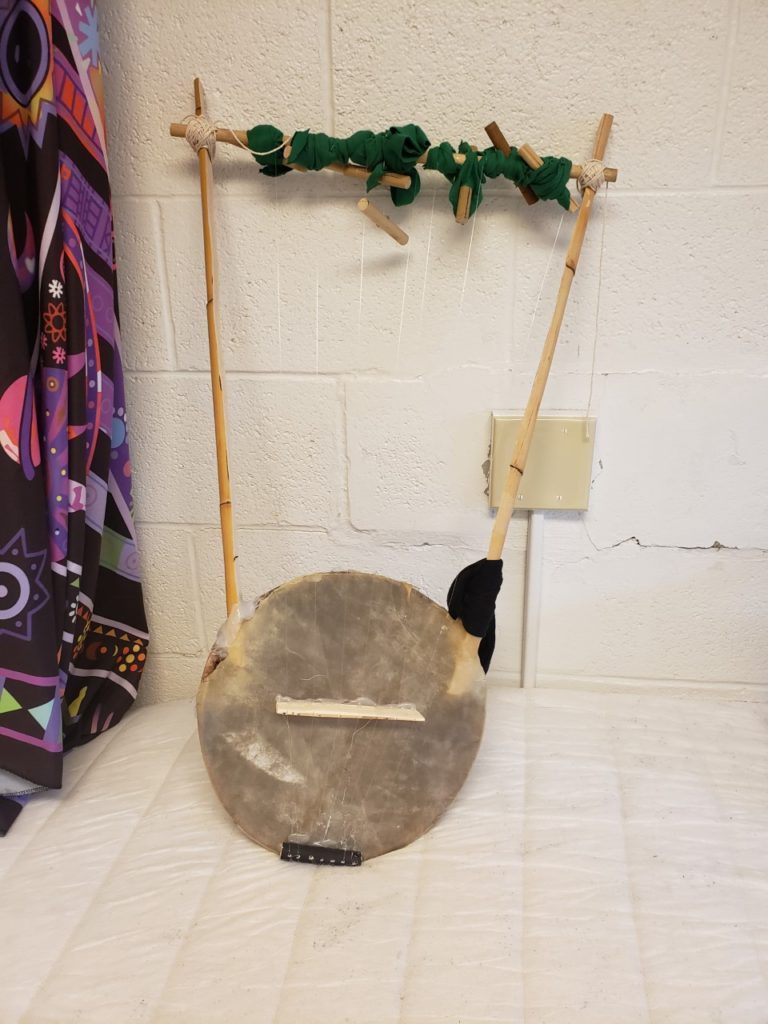
Goat skin attached to lyre frame, lyre almost complete
After this I attached the bridge in the center of the drum with hot glue. This should allow for better sound. I then cut up a small wooden dowel to use as string pegs to keep the strings in place, and I hot glued another wooden dowel at the bottom of the drum to hold the strings. I then attached my strings; for this lyre I used fishing line for the strings. I did this because fishing line is pretty thick, and can hold a lot of tension, as well as being relatively cost effective. The strings made an okay sound (I’m not trying to tune this prototype either) but I had serious issues getting the strings to tighten. The fishing line was pretty loose on the dowel, and was too slippery for me to wind around. I am trying to stop using modern things to the best of my ability (so less hot glue and less rubber bands), so this was a problem.
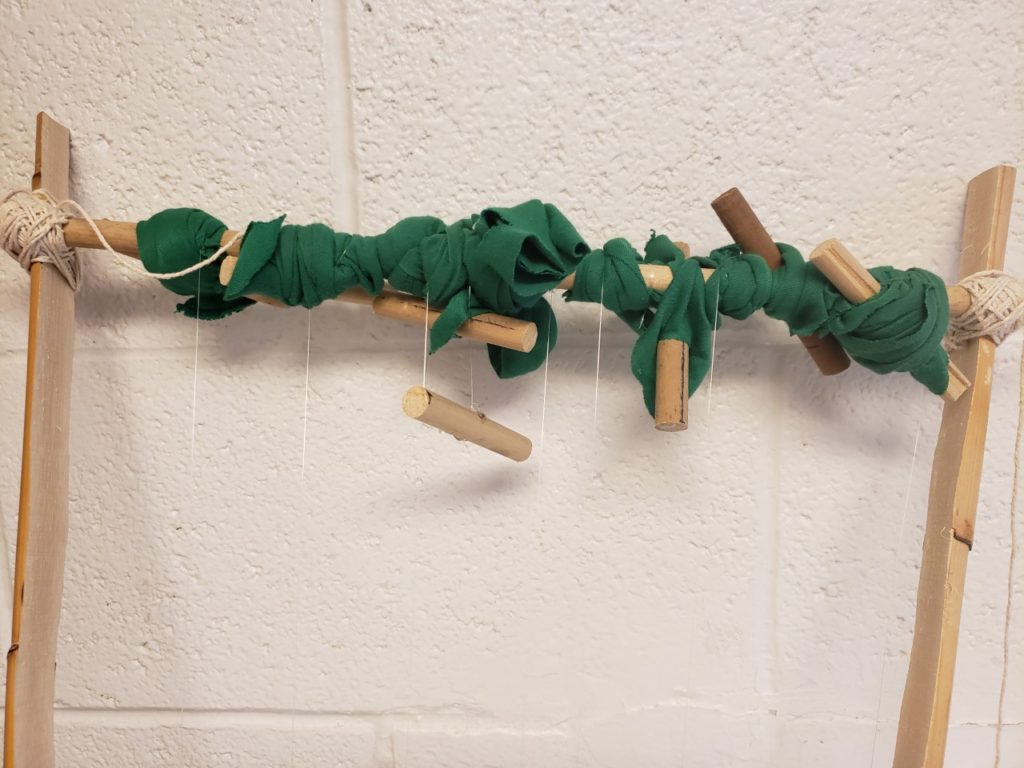
I ultimately solved this problem by replicating an ancient strategy with modern day materials. In ancient Greece Barbitoi (plural for Barbitos) were made with raw oxhide1 Helen Roberts “Reconstructing the Greek Tortoise-Shell Lyre,” World Archeology Vol. 12 No.3, (1981):306. I never planned on doing this because a) I have limited time and budget and b) I have absolutely no desire to work with raw animal hide at this moment. I am sure it has its merits, and in future I might, but I had no desire to keep raw animal hide in my small dorm room. The reason the hide worked was because it was sticky, and provided enough traction to wind the strings and peg around it and hold everything in place. I wanted to find an adequate substitute for this, and using old strips of t-shirt got the strings to wind around the crossbar and hold so they now make a nice clear sound. My second prototype is done! Now, onto the third!
The plan for my third prototype is slightly different than the other two. I had issues bending bamboo with my second prototype, so I have a new plan to achieve curved arms (that do not come from a thrift store chair). I plan to use long wooden dowels approximately ½ to ¾ inch thick as the new arm material, which will hopefully bend easier. The dowels will be cheaper than the bamboo, or chair legs, and most likely easier to work with, because they will be thinner. The reason I have avoided using dowels thus far is that newly purchased wood is usually not a sustainable commodity, and I wanted to avoid buying new wood that was not eco-friendly. The advantage to using dowels is that they are cheap and easily available in a wide range of sizes. I want hard wood dowels to make sure they can take the tension on the strings. I would recommend using maple or oak dowels as a sustainable hardwood, but any hardwood will do.
I think dowels will be easier to work with because they are already the right shape, bend fairly easily depending on their width and material, and are strong. For the base of my next prototype, I plan on using another salad bowl, roughly 10-12 inches across. I do not have a material in mind as I plan on picking up the best bowl I can find at a thrift store. My building plan uses the same ‘procedure’ as before. I will cut divots for the dowel arms into the bowl with a dremel, and then secure the dowels in place with hot glue. Then I will attach the crossbar with twine. Every time I repeat this process I learn so much – I’m excited to see how the third one will turn out!
https://waterfallmagazine.com
Have you ever considered creating an ebook or guest authoring on other
blogs? I have a blog based on the same information you discuss and would really
like to have you share some stories/information. I know my visitors would appreciate your work.
If you are even remotely interested, feel free to shoot me an e-mail.