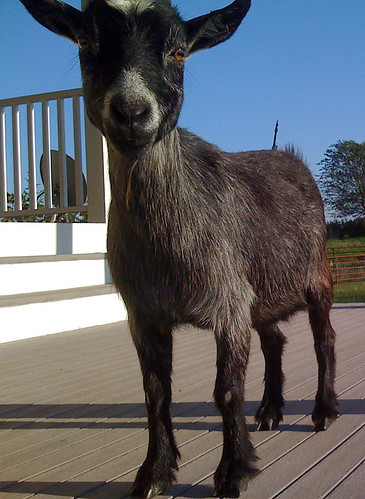
The goat skin for my drum came in a rolled up cardboard tube, a sheaf of really thin parchment like material that was the size of a decent pizza. I based my treatment of the skin off of Helen Robert’s 1984 article on her re-creation of a Barbitos (For more on this consult the about page). In this article, Roberts boiled her goat skin to make her own lyre, as prior to boiling the skin is unworkable. Having done no further research, I planned to boil it for 10 minutes, then attach the skin. My plan worked, though I wasn’t really sure it what would happen beyond what Roberts described.
It took me a very long time: for whatever reason my water just would not boil. Eventually, I got sick of waiting and began to dip my skin in the hot water. I completely immersed it, and stirred the skin around with a large stick. After a period of 10 minutes I removed the skin, shook it off, and began to try to attach it to the base.
My biggest take away from this process is 1) have proper safety equipment (tongs, paper towels, et cetera), and 2) the skin will shrink. A lot !
I ended up with a skin the size of a small pizza, maybe 12 inches across. As it absorbs water, the skin becomes thicker and more pliable, and contracts. This is important to keep in mind for any other lyre re-creations, to make sure you have a skin at least 5 inches larger than the diameter of the base, to provide adequate coverage.
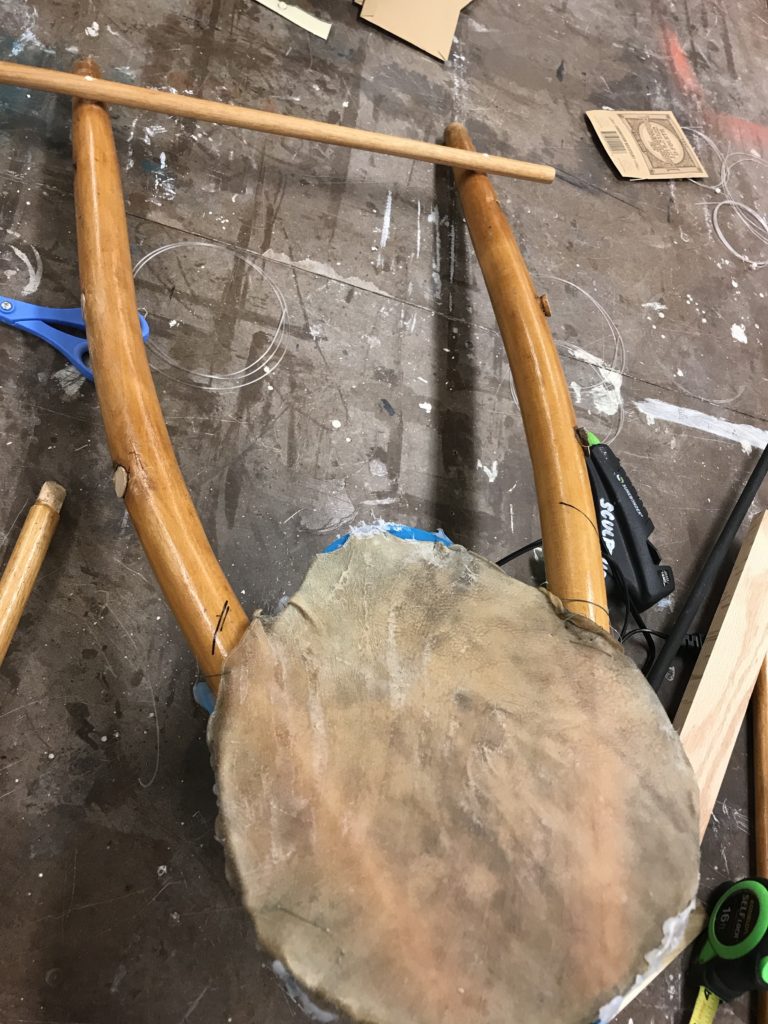
I then began trying to attach the skin to the base. At first, I just tried to hot glue the skin onto the plastic. However, it would not stick because the boiled skin had no shape, and was still wet. As most of my plans involve hot glue, this was a problem.
My next attempt was to use a quasi-ancient method. In antiquity, the skin of the barbitos was attached to the tortoise shell with twine, and then pulled taut around the shell to form a drum. I decided to replicate this ancient method with some fishing line I purchased. I began threading it through the skin to pull it into shape around the bowl; then used hot glue to anchor the threads, and hold the skin into position. This process was not completely smooth: thread breaks, glue does or doesn’t dry when you need it to. Eventually the skin dried off enough, and was secured around the bowl enough with thread that I could just finish hot gluing it. By the end of this process, I was really concerned about the skin not being tight enough, and forming ripples in the middle of the drum, or ‘bubbling’. I decided to leave it for the night, and see how it would stiffen. And Viola!
The next day the skin was strong, with no bubbles. Overall, I used more hot glue than I needed to, but everything worked. Now that my skin is attached, all I have left to do is attach strings, and then I will have my first lyre!
https://waterfallmagazine.com
Heya i am for the first time here. I came
across this board and I find It really useful
& it helped me out much. I hope to give something back and
aid others like you aided me.
Hey, yeah that sounds fine (I tried emailing you and it didn’t go through)