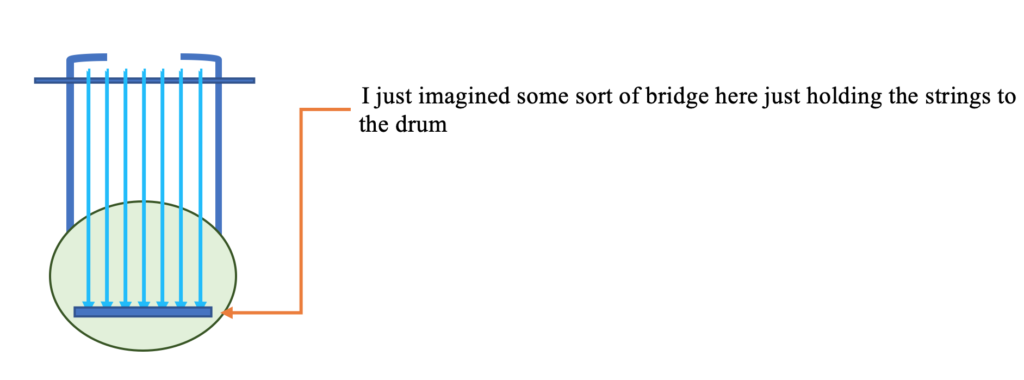
My lyre is almost complete! Now to the strings. Strings on an ancient Barbitos were attached with pegs that wrapped around the crossbar. (For more on this please consult the about page). After finishing the skin, and attaching it to the base I realized that I had severely misunderstood the design of a barbitos. I realized this by consulting pictures of re-creations, and vase imagery of a barbitos. My original plan was something like this:

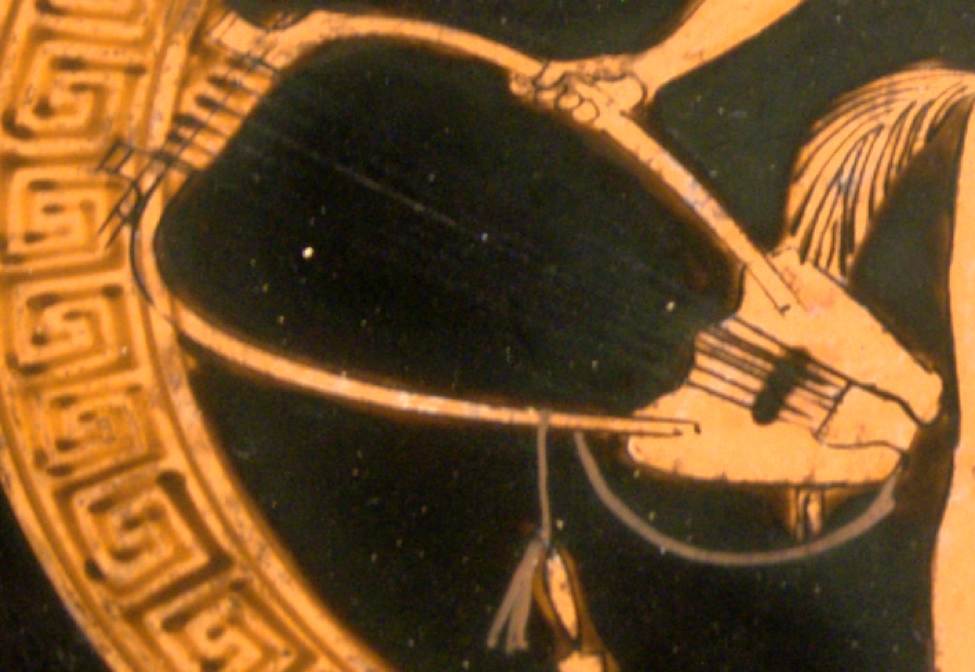
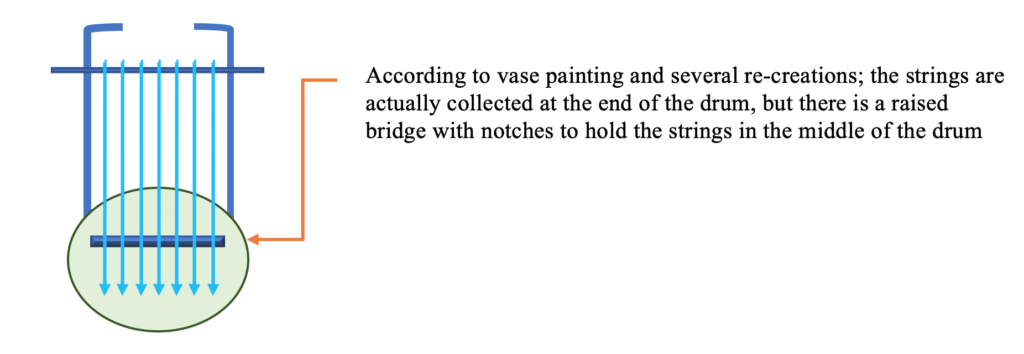
But in actuality; re-creationists, and ancient imagery suggest a design like this:


I had not accounted for the bridge in the center of the drum. The bridge raises the strings up and allows them to resonate against the drum of the lyre, it is a crucial element for the sound. My original plan had just included securing the strings at the bottom of the lyre without any bridge, which would have been really limited my first barbitos’s sound.
Luckily, I learned this before doing the strings, so I adjusted my plan to include a bridge, a string holder, and pegs to tighten the strings. The pegs functioned as ancient levers, to wrap around the crossbar holding the strings in place, but also allowing them to be unstrung as the musician desired. To make all of this, I took a small wooden rod from the wood shop scrap. Using a hacksaw, I cut seven 2 inch sections to make the pegs (consult research page) for the end of the strings. I used a drill to put a hole in each of them, for the string to go through. I then cut off another 5 inch section of dowel and spaced seven holes each half an inch apart to form a base to gather all the strings together at the edge of my drum.
To make the bridge, I used an additional piece of wood, donated by Cassidy, about 5 inches long, and 11/2 wide. I used a hacksaw to make seven notches in it. I then assembled all the parts. Again, using epoxy, I first glued the ‘string holder’ to the bottom of the lyre, then I did the same with the bridge. I used tape to hold them in place , and after about 20 minutes, I threaded the strings through the holder, and tied them to the pegs that would hold them to the crossbar. The strings I used were nylon guitar strings purchased from a local music shop. I made an error as I needed 7 nylon strings, but only purchased 6, resulting in me having to use one brass guitar string as well. As I do not aim to tune this lyre, it is not a huge issue, but going forward I will replace the nylon guitar strings with nylon fishing line for the rest of the prototypes.
After attaching the strings to the base of the lyre, I then wrapped them around the crossbar. This was trickier than I thought, in part because the strings were nylon, and the crossbar had a smooth finish on it, making them hard to attach. So, I used rubber bands! These are not ancient materials, but they keep the strings on, and mildly tight. My strings were still very loose though, so my friend Morgan generously tightened them for me:
My first lyre is complete!

