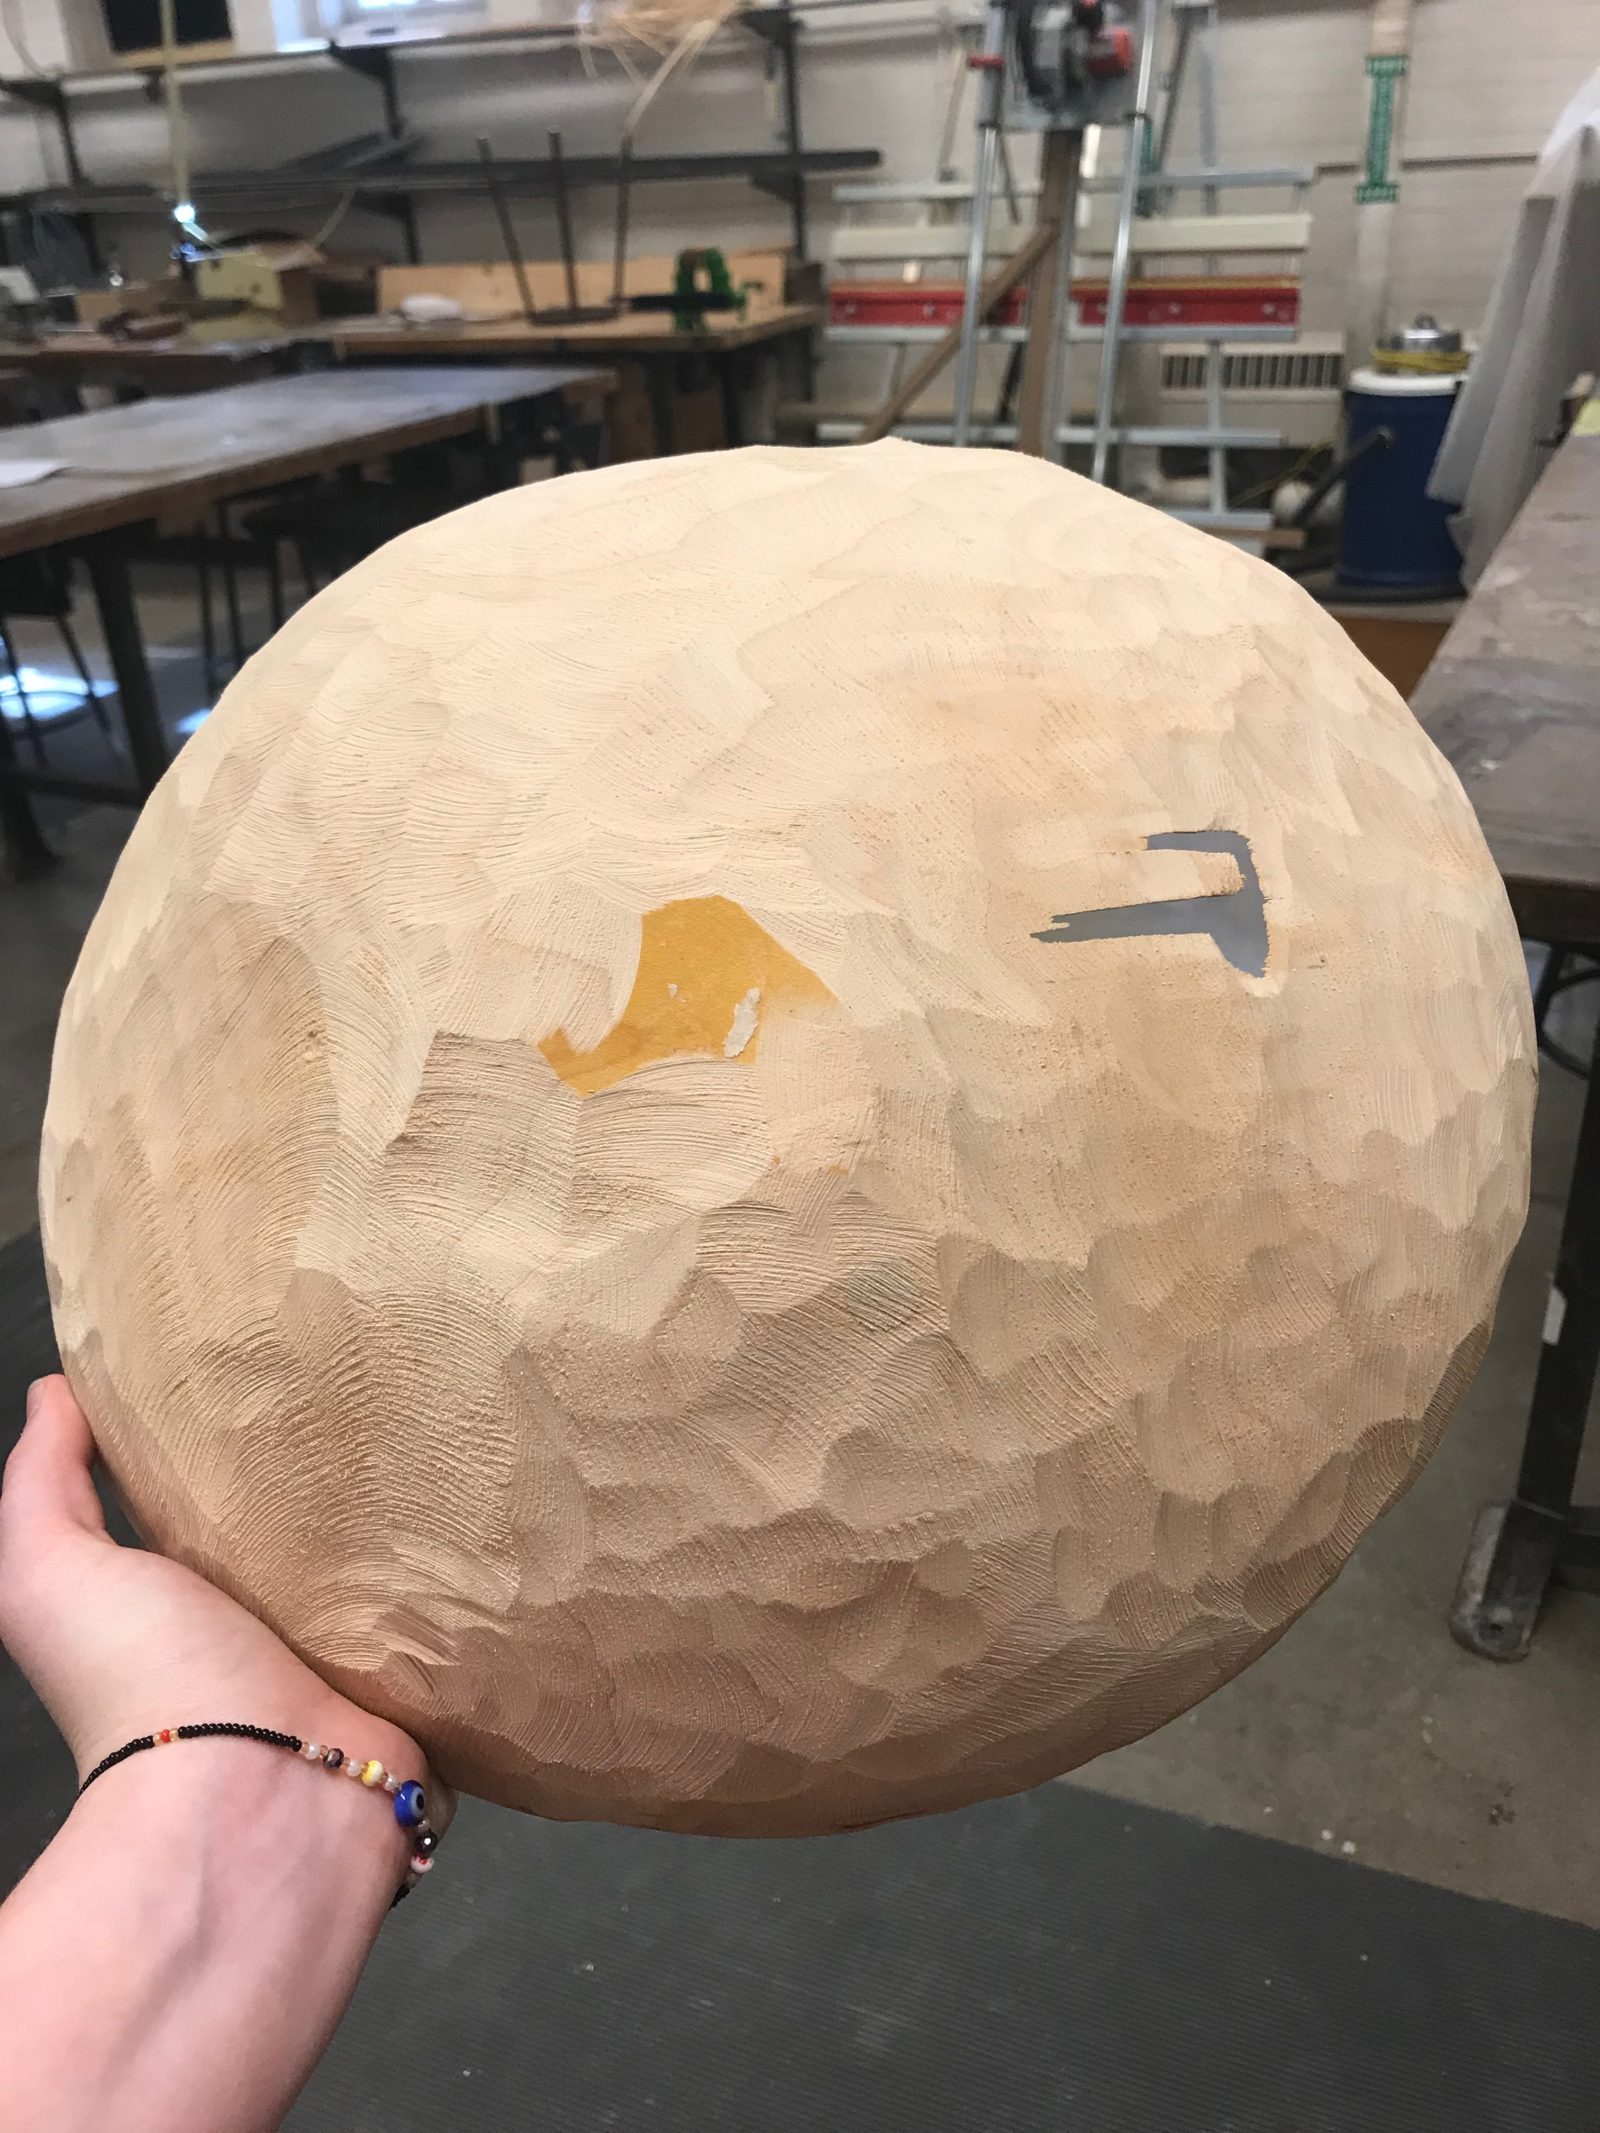
Disaster strikes! I was continuing to sand my bowl when a spirit of destruction visited me and then this happened:
Part of the process of doing anything is failure. I have now learned how not to sand bowls. Now I need a new base for the drum of my instrument. Keeping in mind accessibility, cheapness, and the advice of some other re-creationists1 I was advised to do this by Lyravlos, my thanks to them for responding to my questions online , I decided to purchase a plastic bowl to make my new base. I purchased a blue plastic bowl for $14 from Walmart. In retrospect, I wish I had gotten plastic bowls from Goodwill or some other thrift organization as I have no need for a new plastic bowl, but other than sustainability concerns these ones are fine.
This new plastic base is already the right thickness as it is much thinner than the wooden one. Now that I have my base, I began assembling my lyre with my already made lyre-arms.
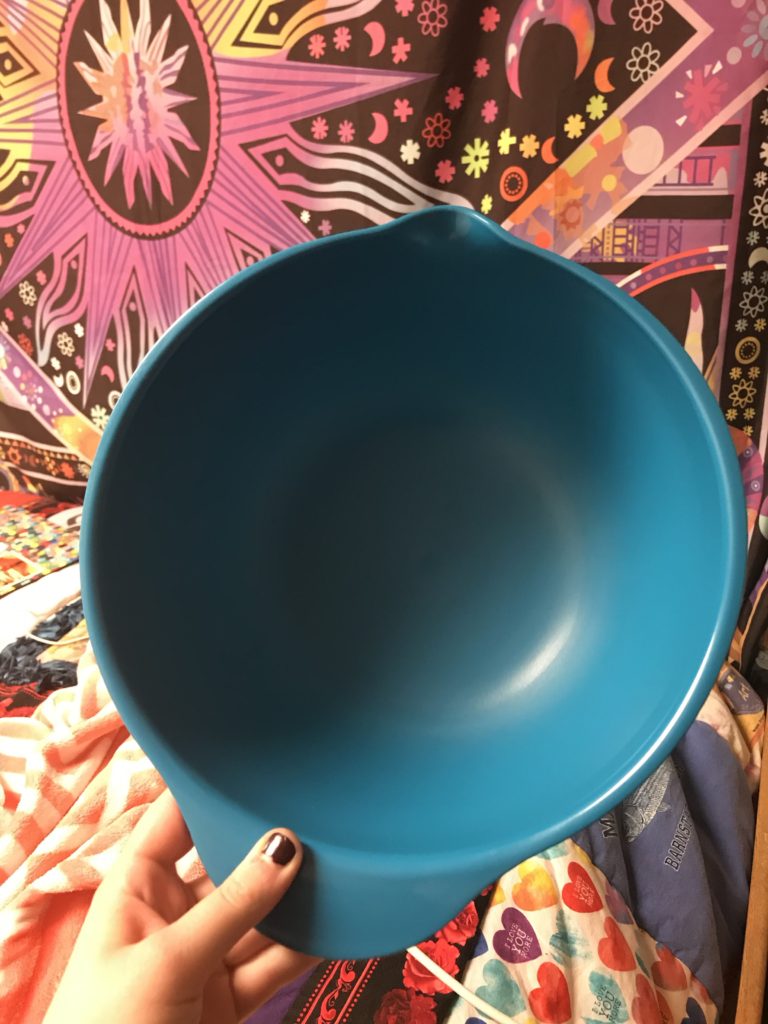
Blue plastic bowl, new lyre base 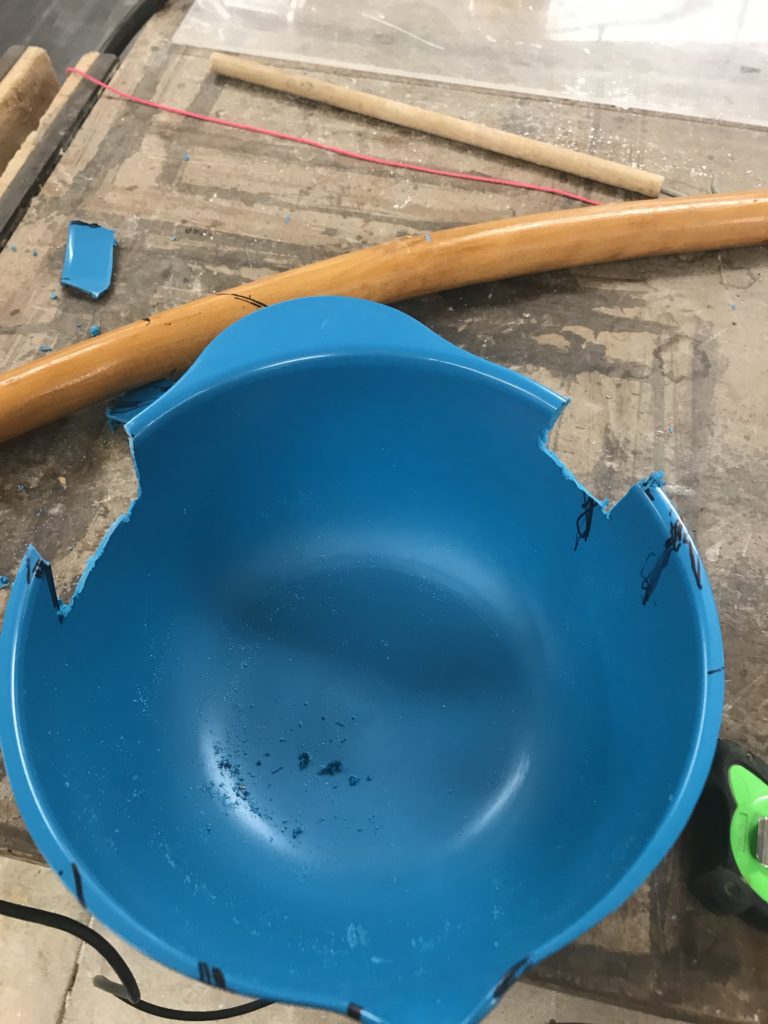
Cutting arm holes in lyre base 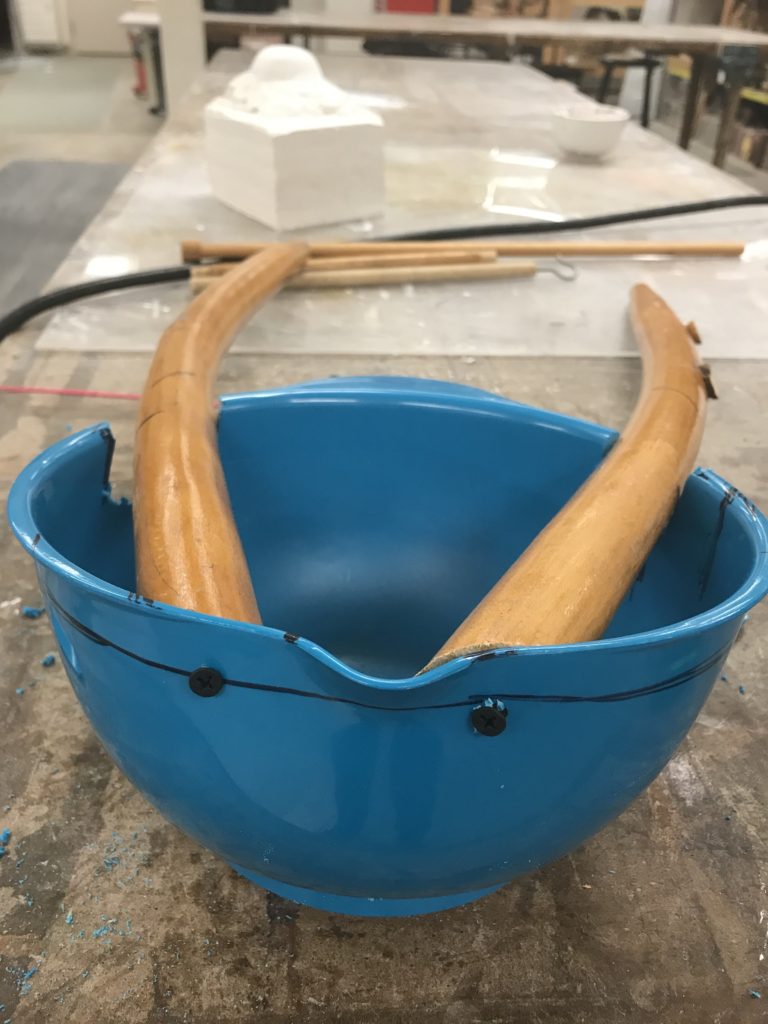
lyre arms in base, secured with screws
I then used a decidedly not-ancient power drill to secure the arms to the base. On my final lyre, I will attempt to stick to slightly more ancient practices and materials but, for the prototypes, I just need to learn the building process.
I needed to make two holes to accommodate the arms of my lyre into the rim of the bowl. After a lot of measuring and marking things in sharpie, I cut two small square divots approximately 2 inches across and an inch long in the rim of the bowl. Anyone else making a lyre can cut as little or as much as needed to comfortably fit the arms into the base. Upon the advice of Cassidy Frye, I cut the holes first with a hacksaw and then with a dremel. You can cut plastic with a hacksaw or any other cutting implement, but the dremel made it go a lot faster. With Cassidy helping me, I then cut the arms to the right length to fit inside the bowl. The arms of a barbitos can be any where between 2 1/2 – 4 feet long for a ‘proper’ reconstruction based on ancient models.
I had no issues drilling through the plastic into the wood and my arms are secure. That accomplished, I hot glued the arms at the top of the base to secure them better, and then epoxied them to the base, to once again add more support. Cassidy helped me with all of this, and made the epoxy for me.
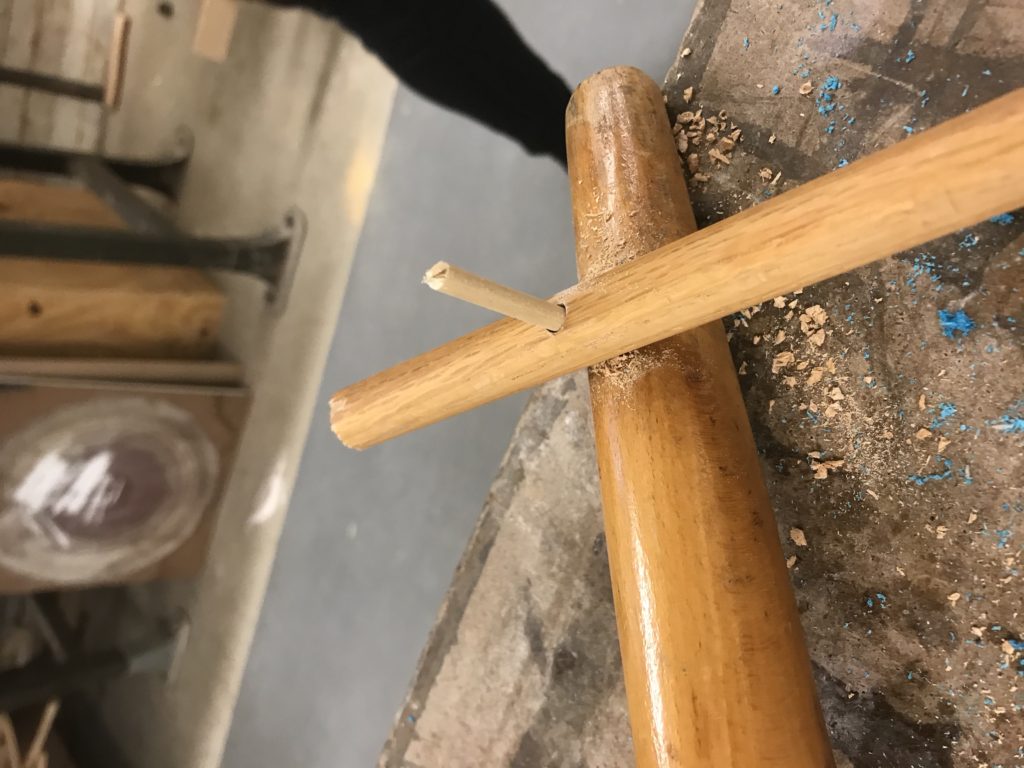
After this, I drilled a hole through the crossbar into each arm. I then used wood glue to place a small wooden dowel into the hole, forming a secure joint. The crossbar was on. My arms and base are attached! My next task is to attach the goat skin to properly form a drum.
